Story by Téa Jones | Photos by Cristina Betz
We’ve all been in the situation where we rifle through our drawers and nothing seems exciting. You might even get fed up, want to get rid of everything and start over. But why get rid of clothing when you can enhance it? It’s easy to take the items that are already in your possession and make them look entirely different. Here are five ways you can customize your clothing and update your wardrobe.
TIE-DYE & BLEACHING
It’s safe to say that most college students enjoy their fair share of loungewear. An easy way to spice up your wardrobe while maintaining that comfy look is to give your old sweats some new color.
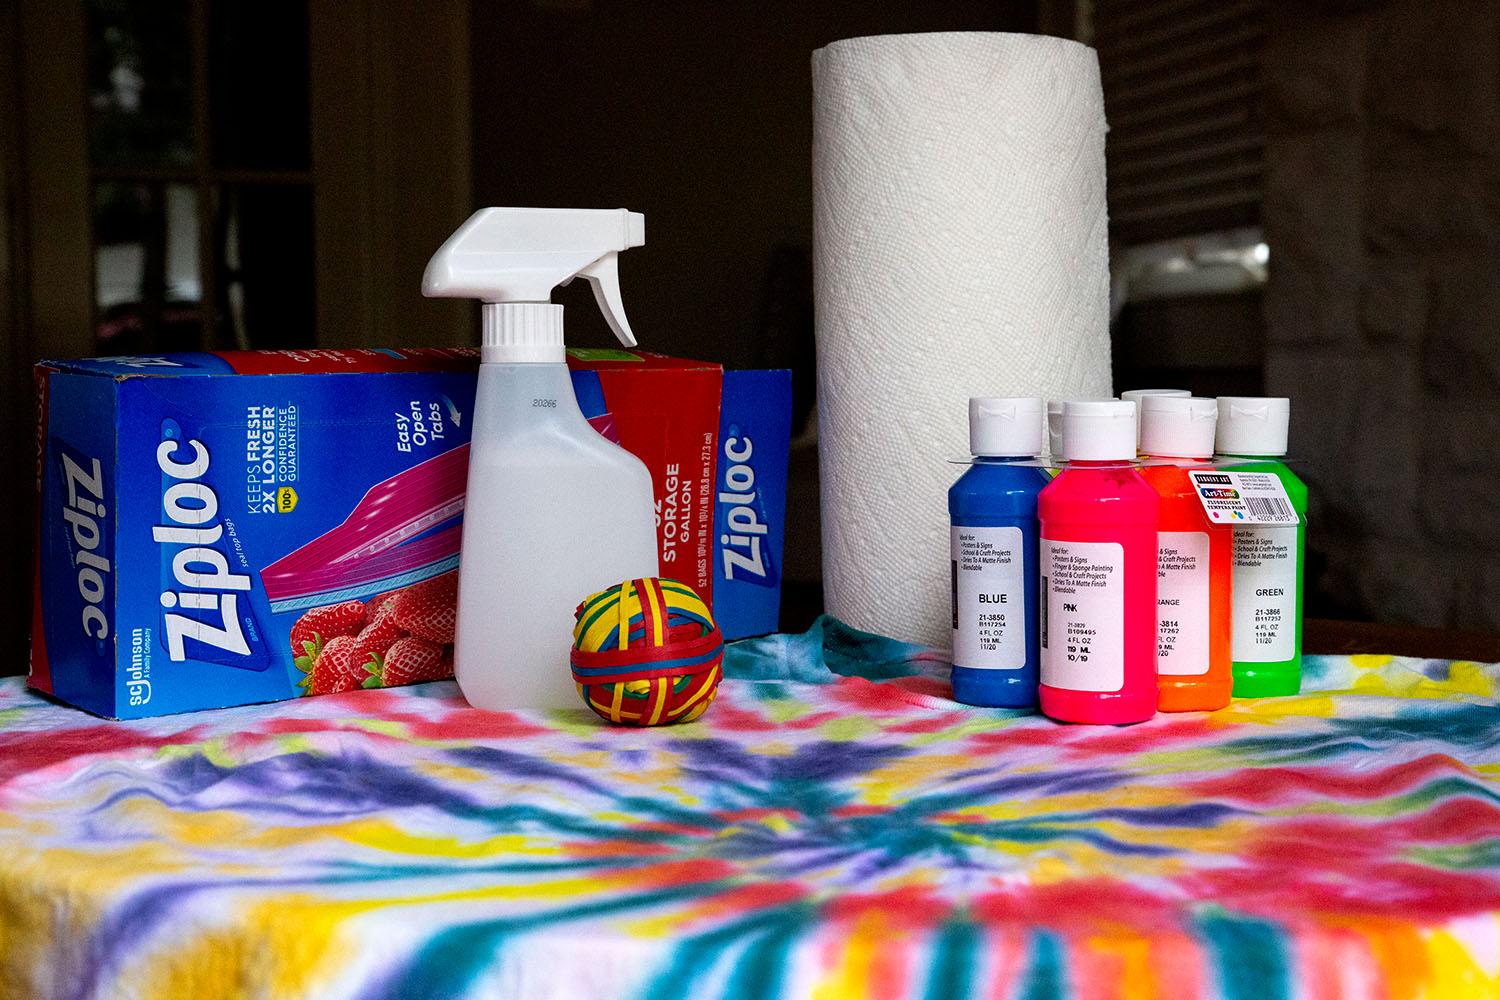
Here’s what you’ll need: gloves to protect your hands, the color of dye you desire (or all-fabric bleach if that’s more your style) and rubber bands.
Start by dampening the fabric and scrunching it into the design of your choosing. Then, use the rubber bands to secure it in place.
Next, prepare the dye and apply it to each of your rubber-banded sections. After you’ve used an appropriate amount of dye on one side, flip the fabric over and repeat the process on the other side. After the color has been applied, secure the sweats in a plastic bag and let them sit for 6-8 hours.
If you’d rather bleach than dye your clothing, mix equal parts bleach and water in a squirt bottle and apply depending on where you want the bleach spots to be. Bleached clothing will only need to sit for 5-10 minutes before the next step.
Once the time is up, take the clothing out of the bag and rinse with lukewarm water to wash away excess dye. Then, remove the rubber bands and pop the clothes into the washer (separate from your other laundry). Be sure to also dry them separately in case there’s any leftover dye from washing.
Ta-da! Your old sweats have transformed into a fun and trendy look.
PATCHES
Iron-on patches are the perfect way to upgrade an old jean jacket that has found its way to the back of your closet; plus they’re quick, easy and cheap.
Pay a visit to your nearest craft store such as Michaels, Hobby Lobby or even Walmart to pick out your favorites. For this project, you’ll need patches, an iron and a towel or cloth.
First, set your iron to its highest temperature and iron out the places on the jacket where you want to attach your patches.
Then, place the patch in its desired location and lay the cloth over it — this protects your patch from burning or melting. Keep pressure on the iron and move it over the patch three or four times to ensure that the adhesive sticks to the jacket. Repeat this step with each patch and let the jacket cool.
Once finished, you have an updated and stylish new piece!

DISTRESSING
Adding a couple rips to a pair of jeans is sure to put an entirely new spin on your outfit. To distress your own jeans, you’ll need a pair of scissors and some tweezers.
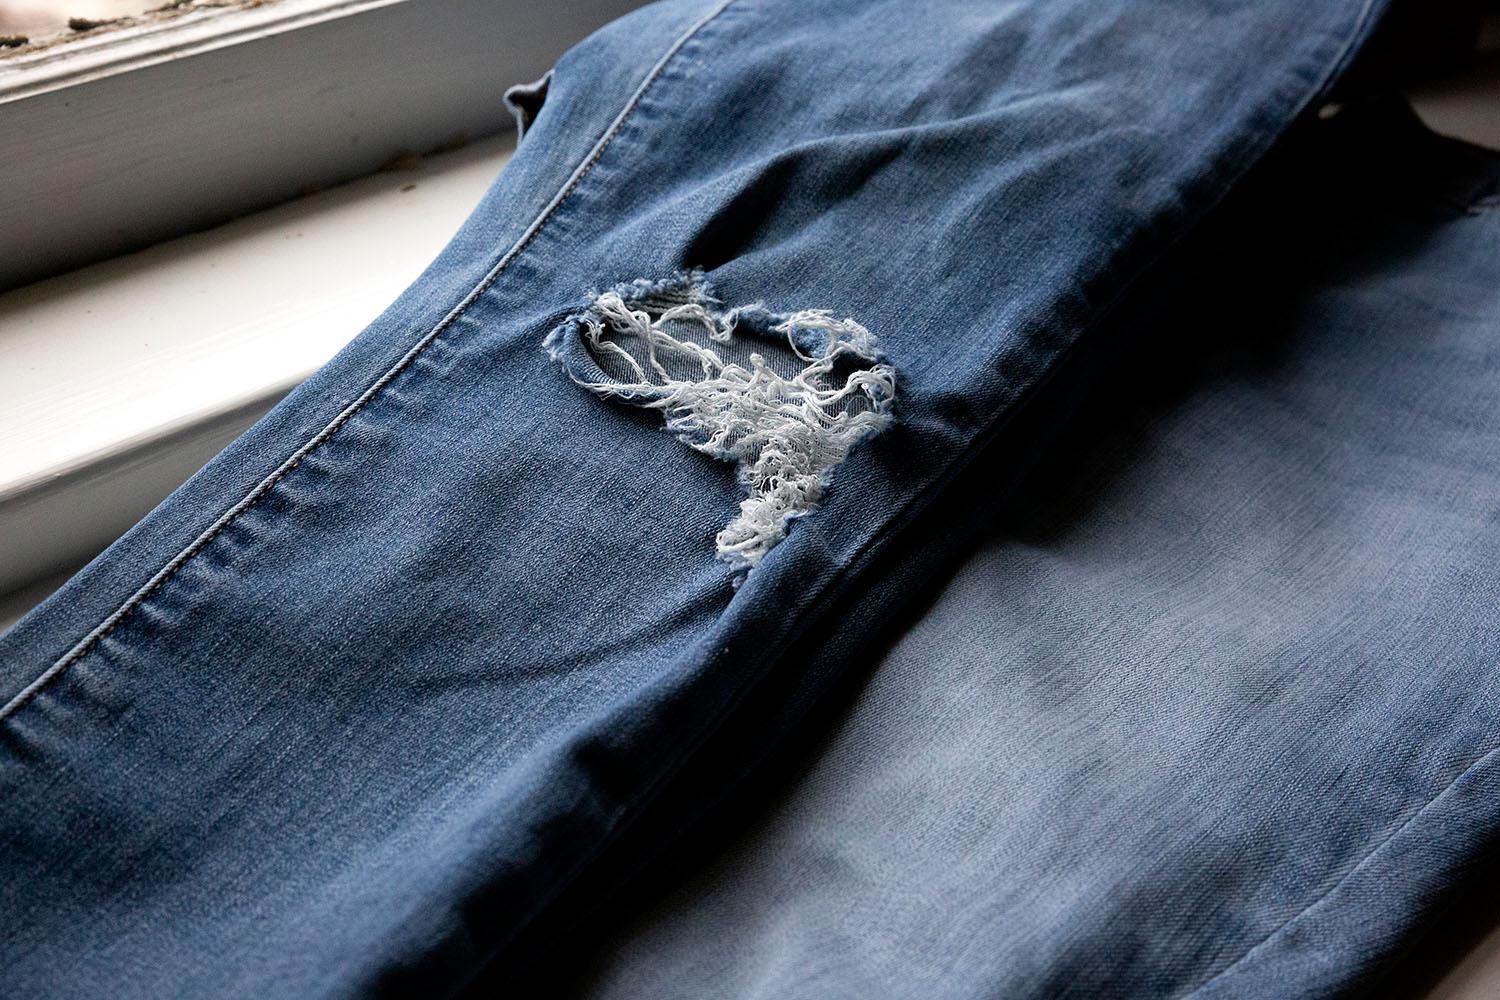
To make your first rip, pinch the jean leg together around the knee area and make a 2 inch long horizontal cut with the scissors. Make another cut about a half an inch below the first one.
Jeans are composed of blue threads that run vertically and white threads that run horizontally, but you’ll only want the white threads to show. So, once you’ve made your two cuts, take the pair of tweezers and start plucking out the vertical blue threads. Repeat this process until all of the blue threads in your allotted area are gone.
Continue until you’ve reached the level of distressing that your heart desires!
CROPPING
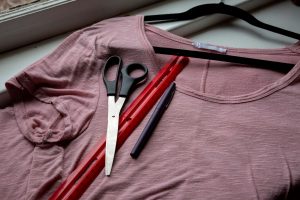
With warmer weather just around the corner, it’s time to put away the winter coats and reintroduce crop tops. This one is simple — the only supplies you need are the top you’re cutting, a pair of scissors, a straight edge and something to write with such as chalk or a marker.
Start by trying on the shirt and marking where to cut depending on how cropped you want it to be. Because the hem will roll itself up a couple centimeters after cutting, make sure the mark is a little lower than you want the shirt to hit on your torso.
After making the initial line, lay your shirt down on a flat surface. You’ll want to draw a straight line around the shirt to ensure that your cut will be even. Flip the shirt over and trace the line on the back side as well. Then, cut evenly along the line.
After making the cut, you’re ready to throw on your transformed top.
EMBROIDERY
This one might seem a little daunting, but it’s just another simple customization you can make to take your piece to the next level. For this one, you’ll need embroidery thread, a needle, scissors, tracing paper, straight pins and the design of your choice, which can be found through a quick Google search.
To start, trace your design on the tracing paper and cut around it. Then, place your design on top of your chosen piece of clothing and pin it in place.
Next, thread the needle and double knot the end of the long piece of floss. Beginning underneath the clothing item, pull your needle through to the top. Repeat this motion of going down into the fabric and then pulling back up, leaving a tiny space in between the holes.
Once you’ve traced your entire design, double knot the floss on the inside of the clothing and cut the excess string. Finally, you can remove the leftover tracing paper from the design and voila! You now look and feel like an artist.