It’s the day before game day and you’re standing in the middle of your room, surrounded by discarded outfit options, wondering if you should just go out and buy a whole new outfit.
For some reason, nothing you own is the perfect shade of red. No pants go with the shirt you want to wear. Then, when you’ve finally found the perfect pair of pants, you realize you absolutely do not want to wear that shirt after all.
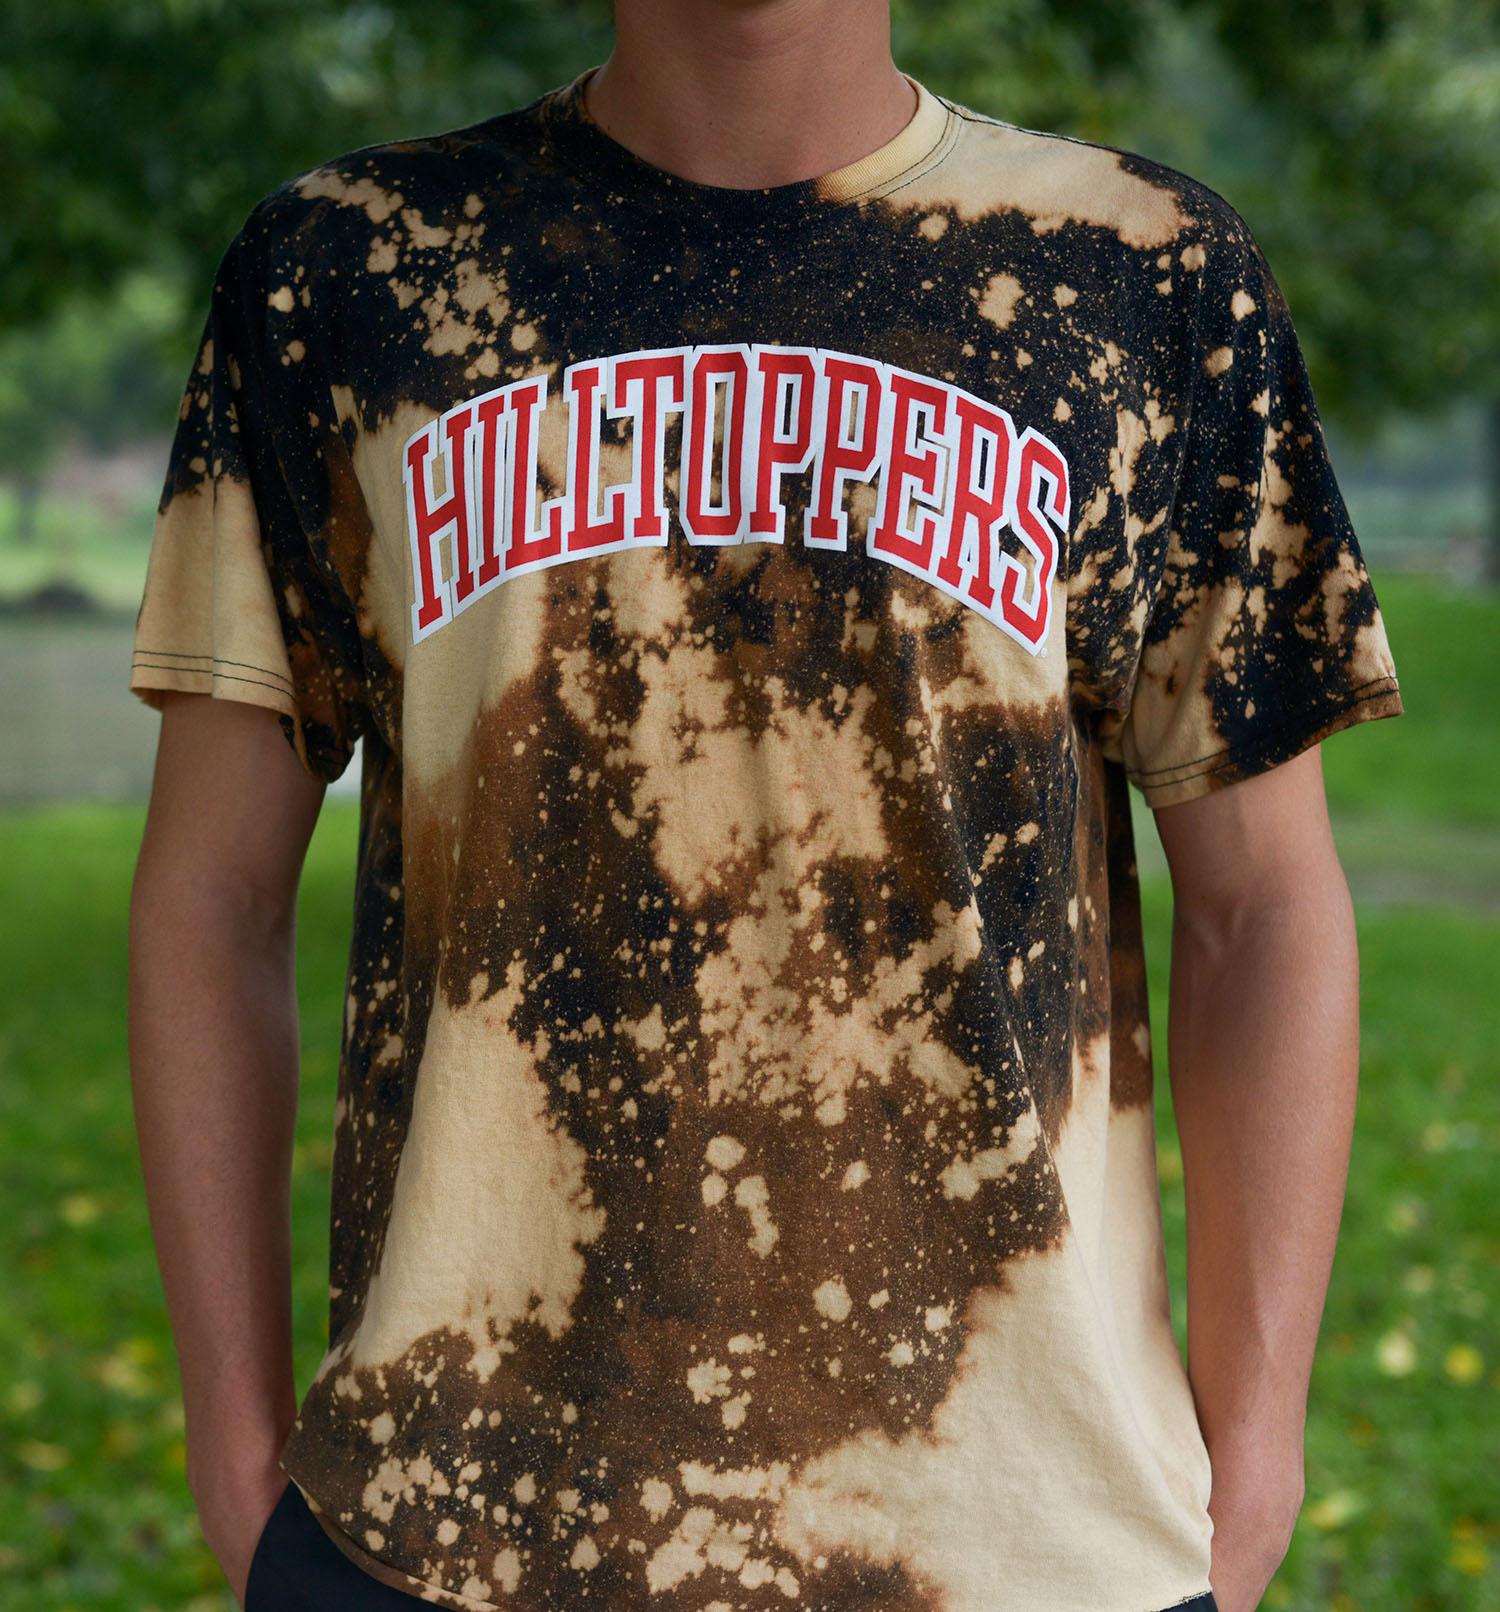
Instead of heading to the mall for a new polo or off the shoulder top, make something custom. It’s cheap, easy and you can guarantee no one else is going to be wearing the same thing.
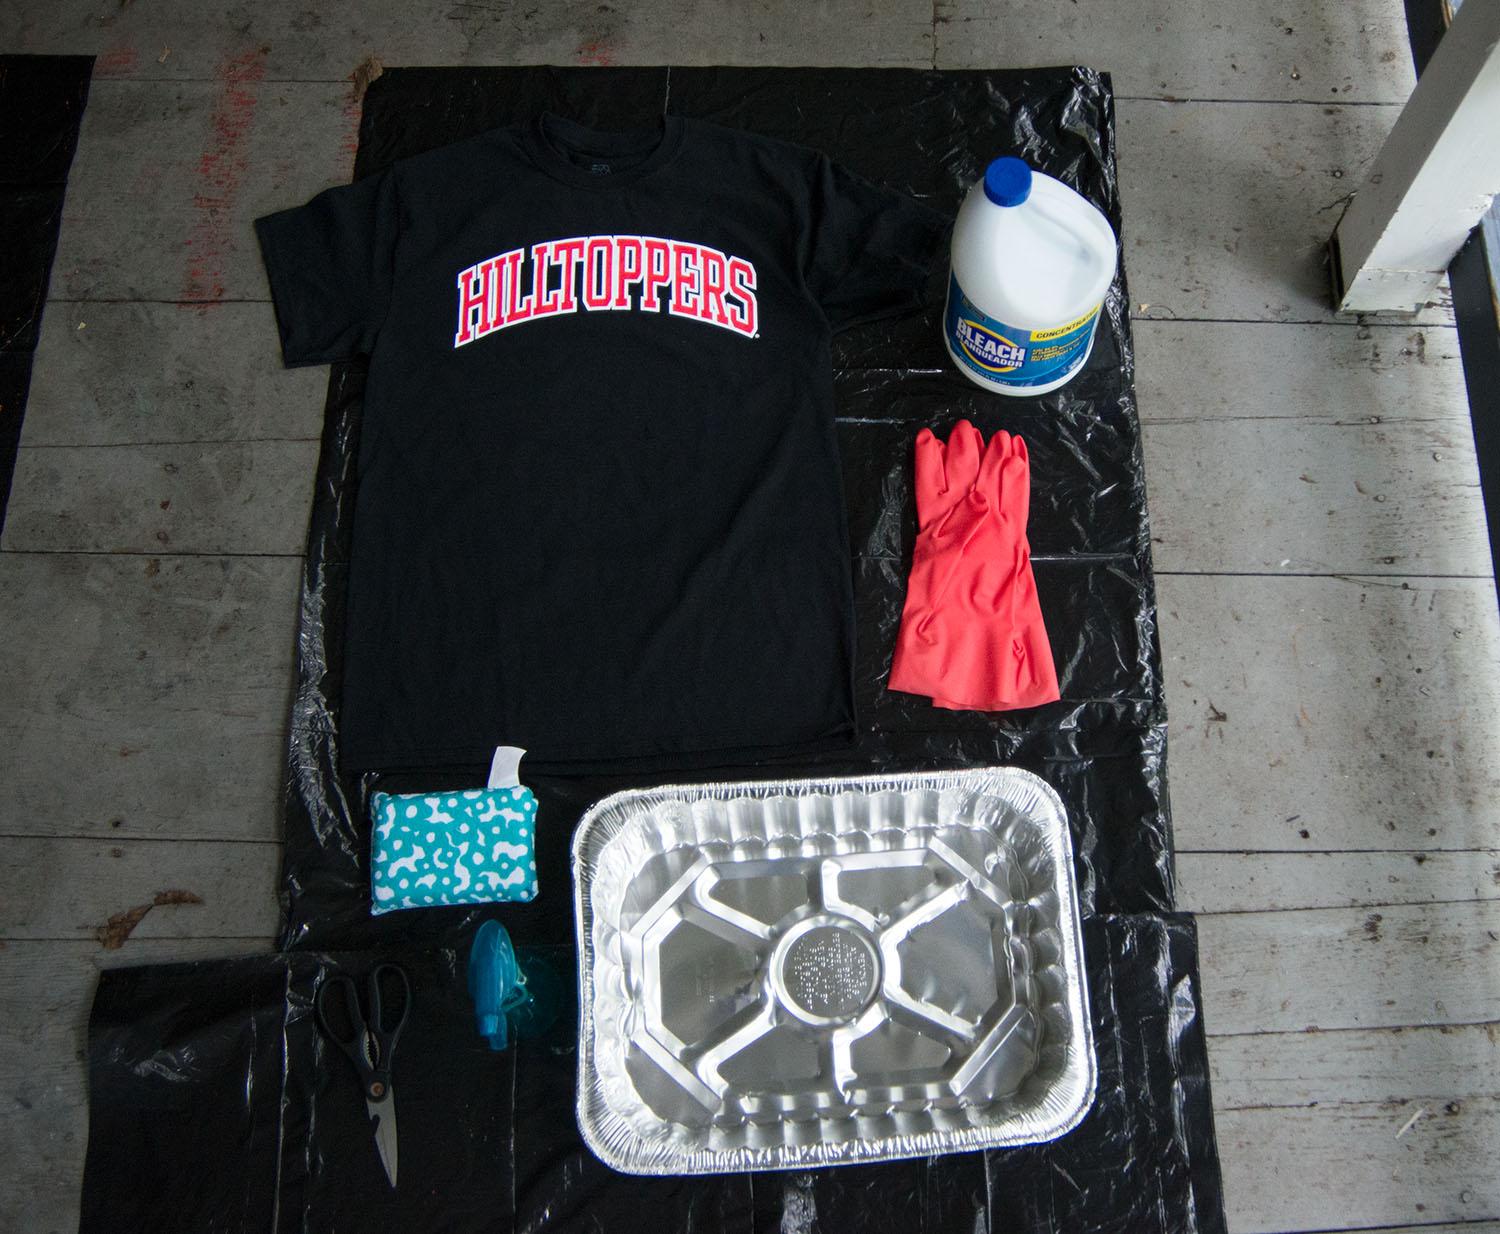
Here’s what you’ll need:
Any black WKU shirt (hit those local thrift stores for some low-cost options)
– Bleach
– Gloves
– Scissors
– Spray bottle(s)
– Bucket (anything you can pour a good bit of bleach in will work)
– Tarp (If you’re not up to spend the money, use a black garbage bag instead. The bigger, the better.)
Pro-tip: It’s best to do this little art project outside — unless, of course, you like the smell of bleach pervading your home.
While you’re at it, change into something a little more comfortable, too. And by comfortable, we mean that middle school P.E. shirt that’s still languishing in your dresser. You’ll most likely get bleach on you, and it most definitely will not be pretty.
Step One: Prepare your workspace
Lay out two tarps and secure them to the ground. One will be for when you’re working on the shirt and the other will be for when you’re finished.
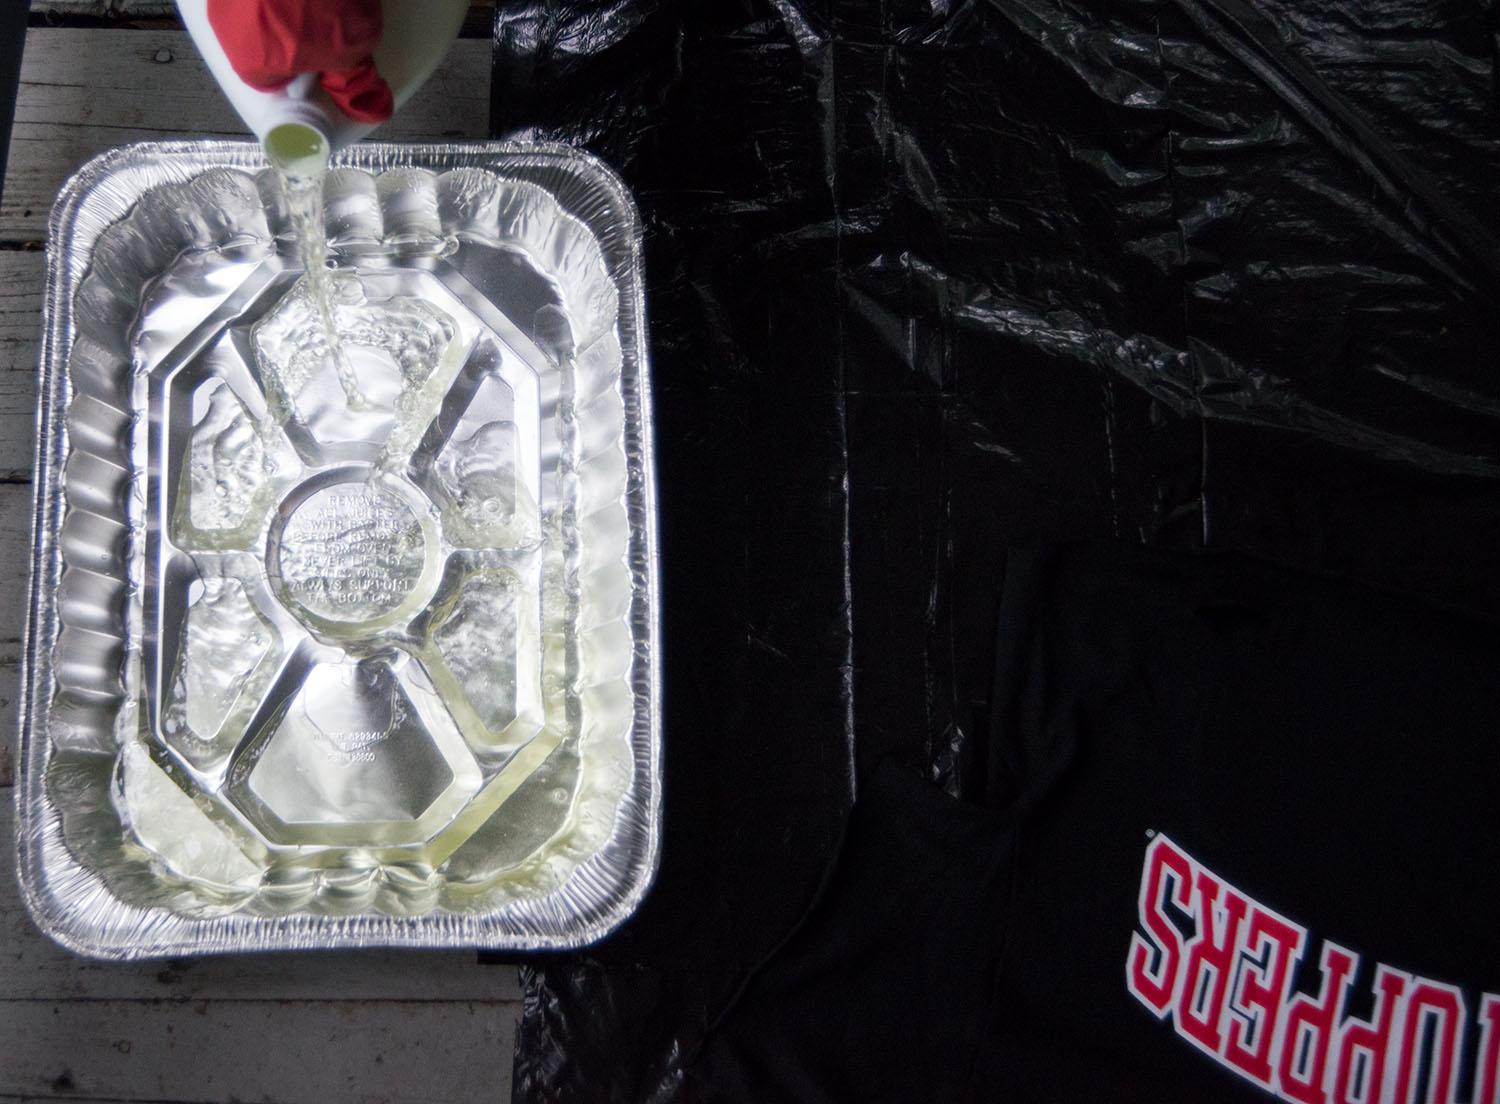
Step Two: Get your supplies in order
Pour bleach in your spray bottle and bucket. Fill both to the brim.
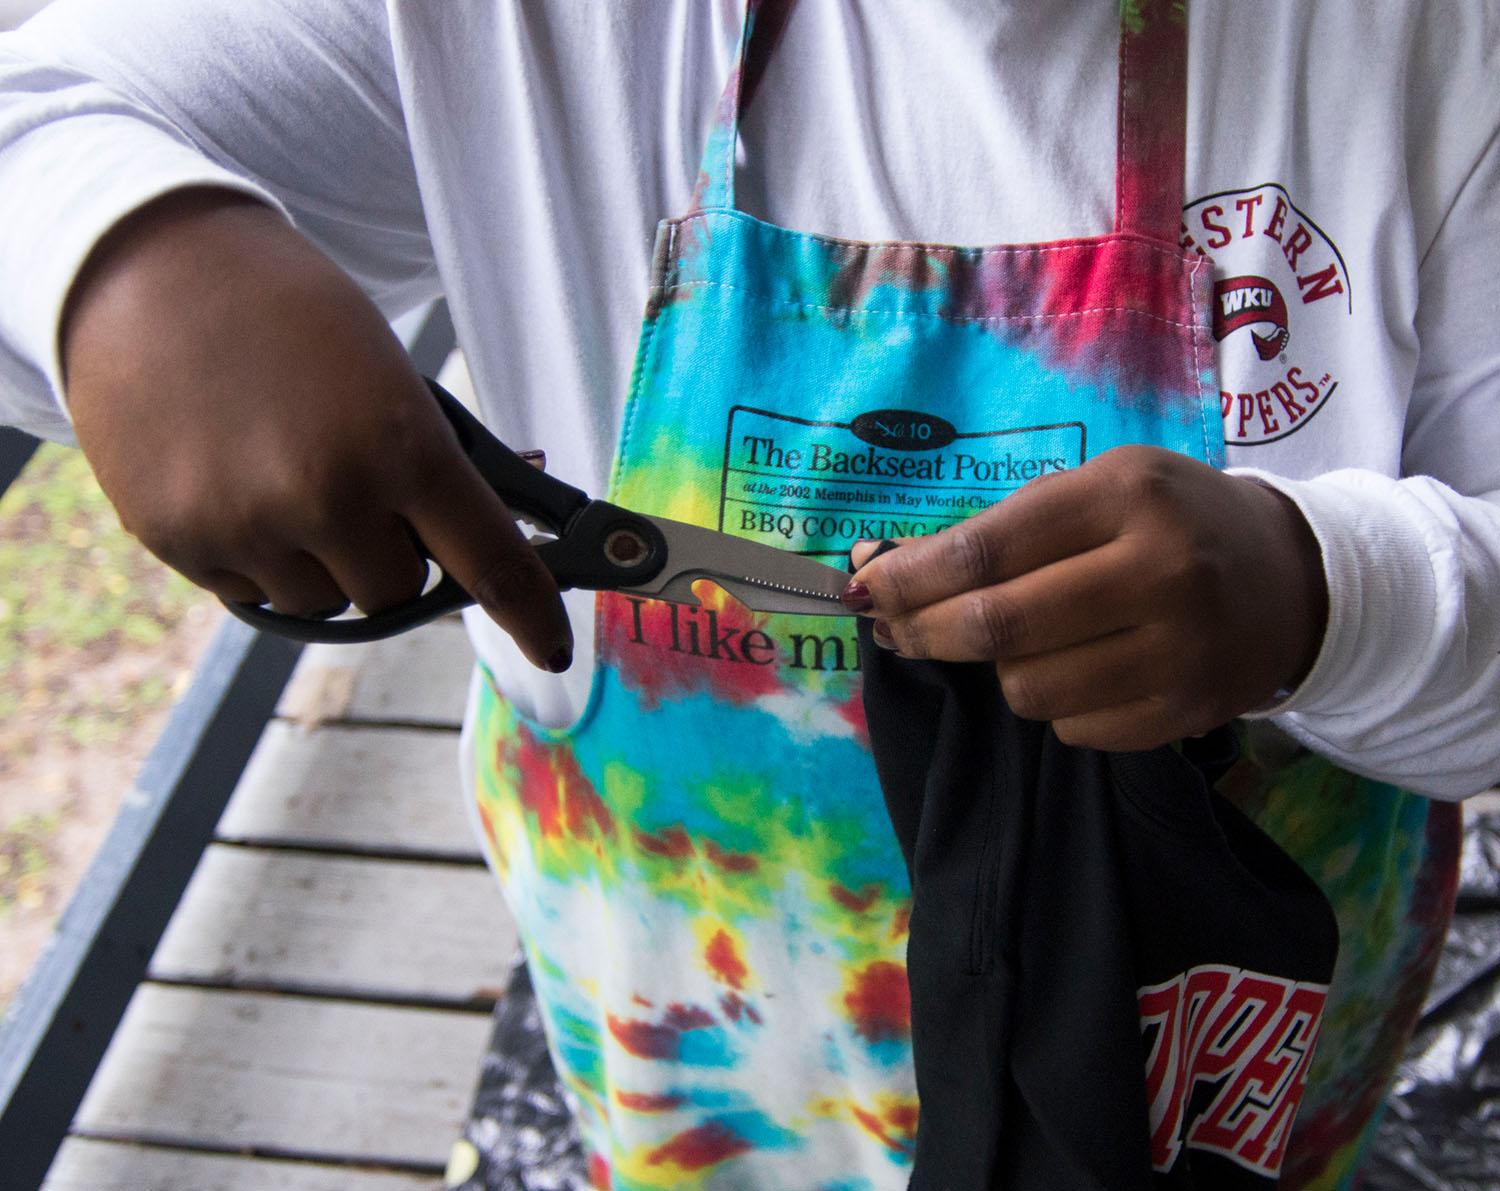
Step Three: Shape your canvas (your shirt, that is)
You can cut the neckline to give it a vintage, worn look.
You can cut the neckline off completely.
You can cut a deep “V”.
Or you can leave it as is!
I often find the arms of T-shirts to be a bit too long and awkward. You can cut the shirt just above the hem on each arm to give it a less store-bought look.
After cutting the shirt, pull on the edges of the cut. The fabric will roll in on itself, so it’s no problem if your cut isn’t straight.
Step Three: Go for it!
Use the gloves, I beg of you. Do not make the mistake of splashing around in bleach with your bare hands. It really, really burns.
If you want the dip-dyed look, dip the bottom of the shirt in the bucket of bleach. Dip the shirt in to the height you want the dye. Leave the shirt in the bucket for just about two minutes. Don’t worry if the color isn’t as vibrant as you were expecting. It will intensify as time goes on.
Pro-tip: Try and keep one hand out of the bleach completely. You know how it goes — your nose always starts to itch as soon as you’re elbow deep in bleach.
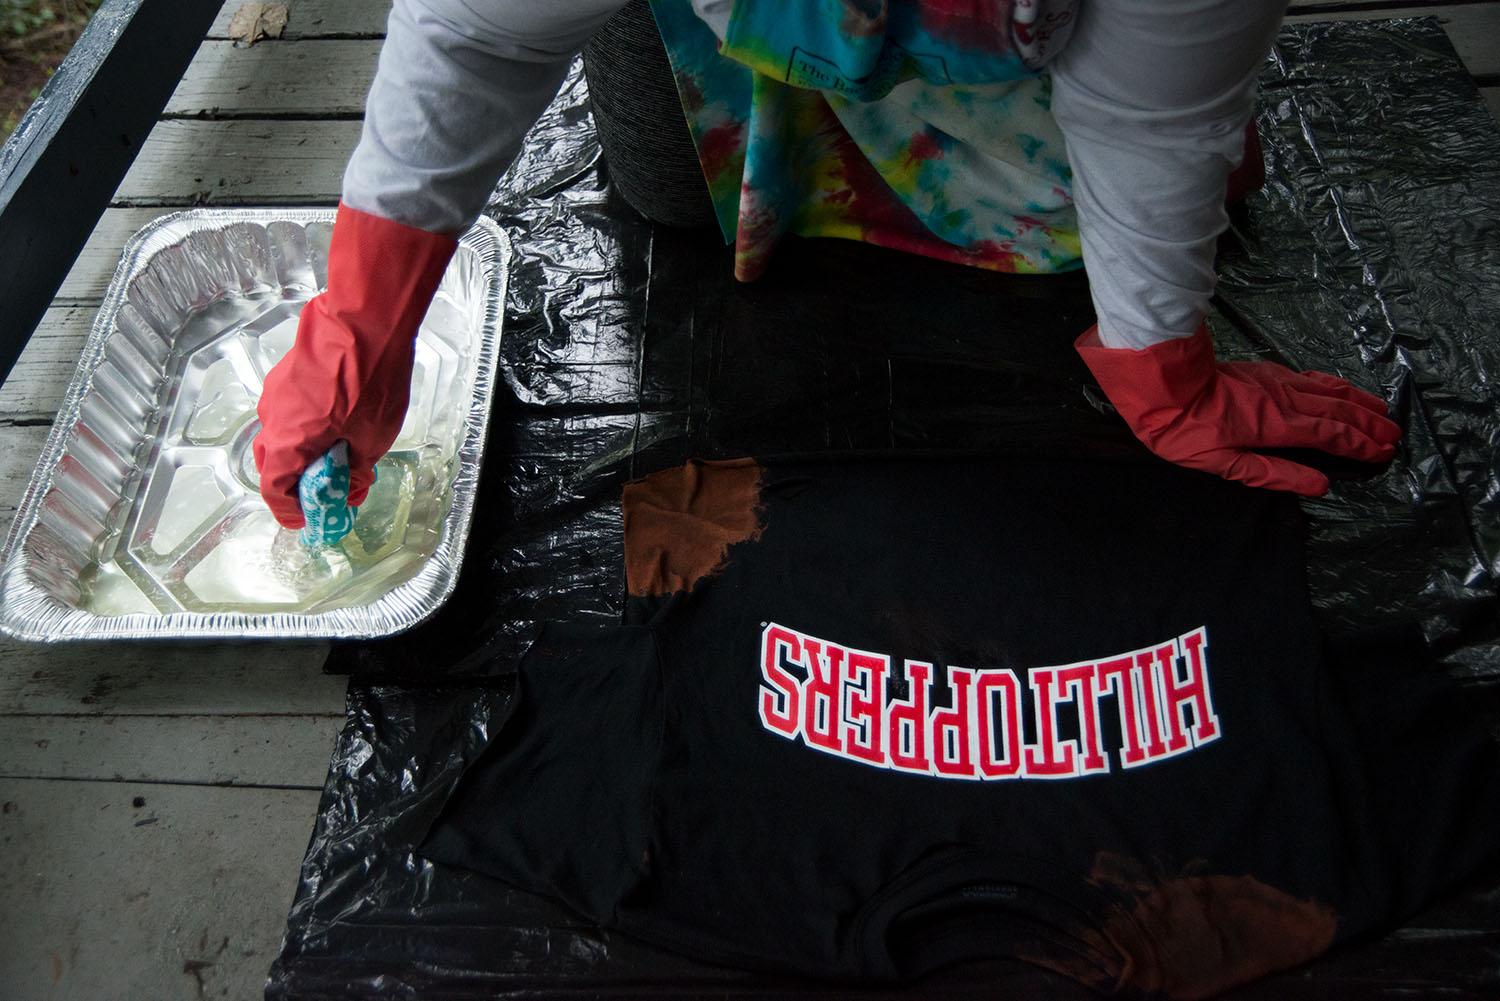
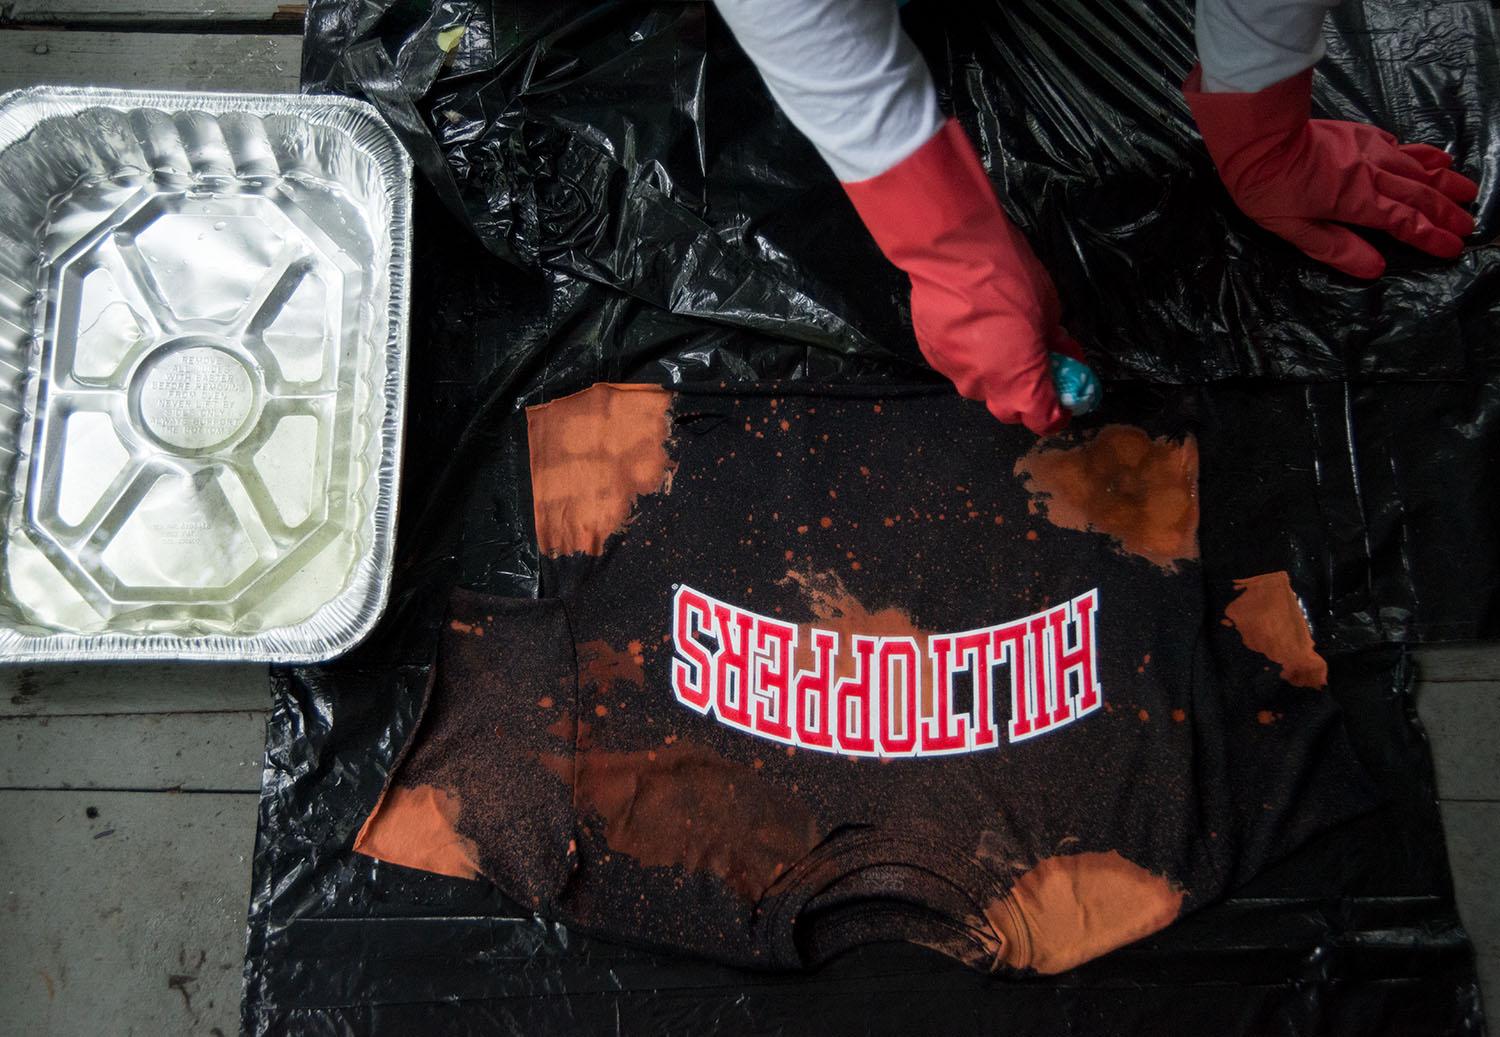
If you’re going for a more sporadic bleaching, put that spray bottle to use. For larger spots, spray closer to the shirt and for small spots all over the shirt, spray farther away.
If you notice some spots need a little more pizzazz, dip your sponge in bleach and dab your little heart out! The intensity and look of your shirt is all up to you, so have some fun with it.
Step Four: Wash it out!
If you’re happy with the color of your shirt, rinse it off with warm water until the water runs clear. This will get the excess bleach out so it doesn’t run when you throw it in the washer.
Step Five: Finishing touches
To finish the shirt up, throw it in the washer and the dryer. This washes the final bits of bleach out and allows the bleach to finish reacting with the fabric. Make sure to wash the shirt by itself so the excess bleach doesn’t ruin any other clothes.
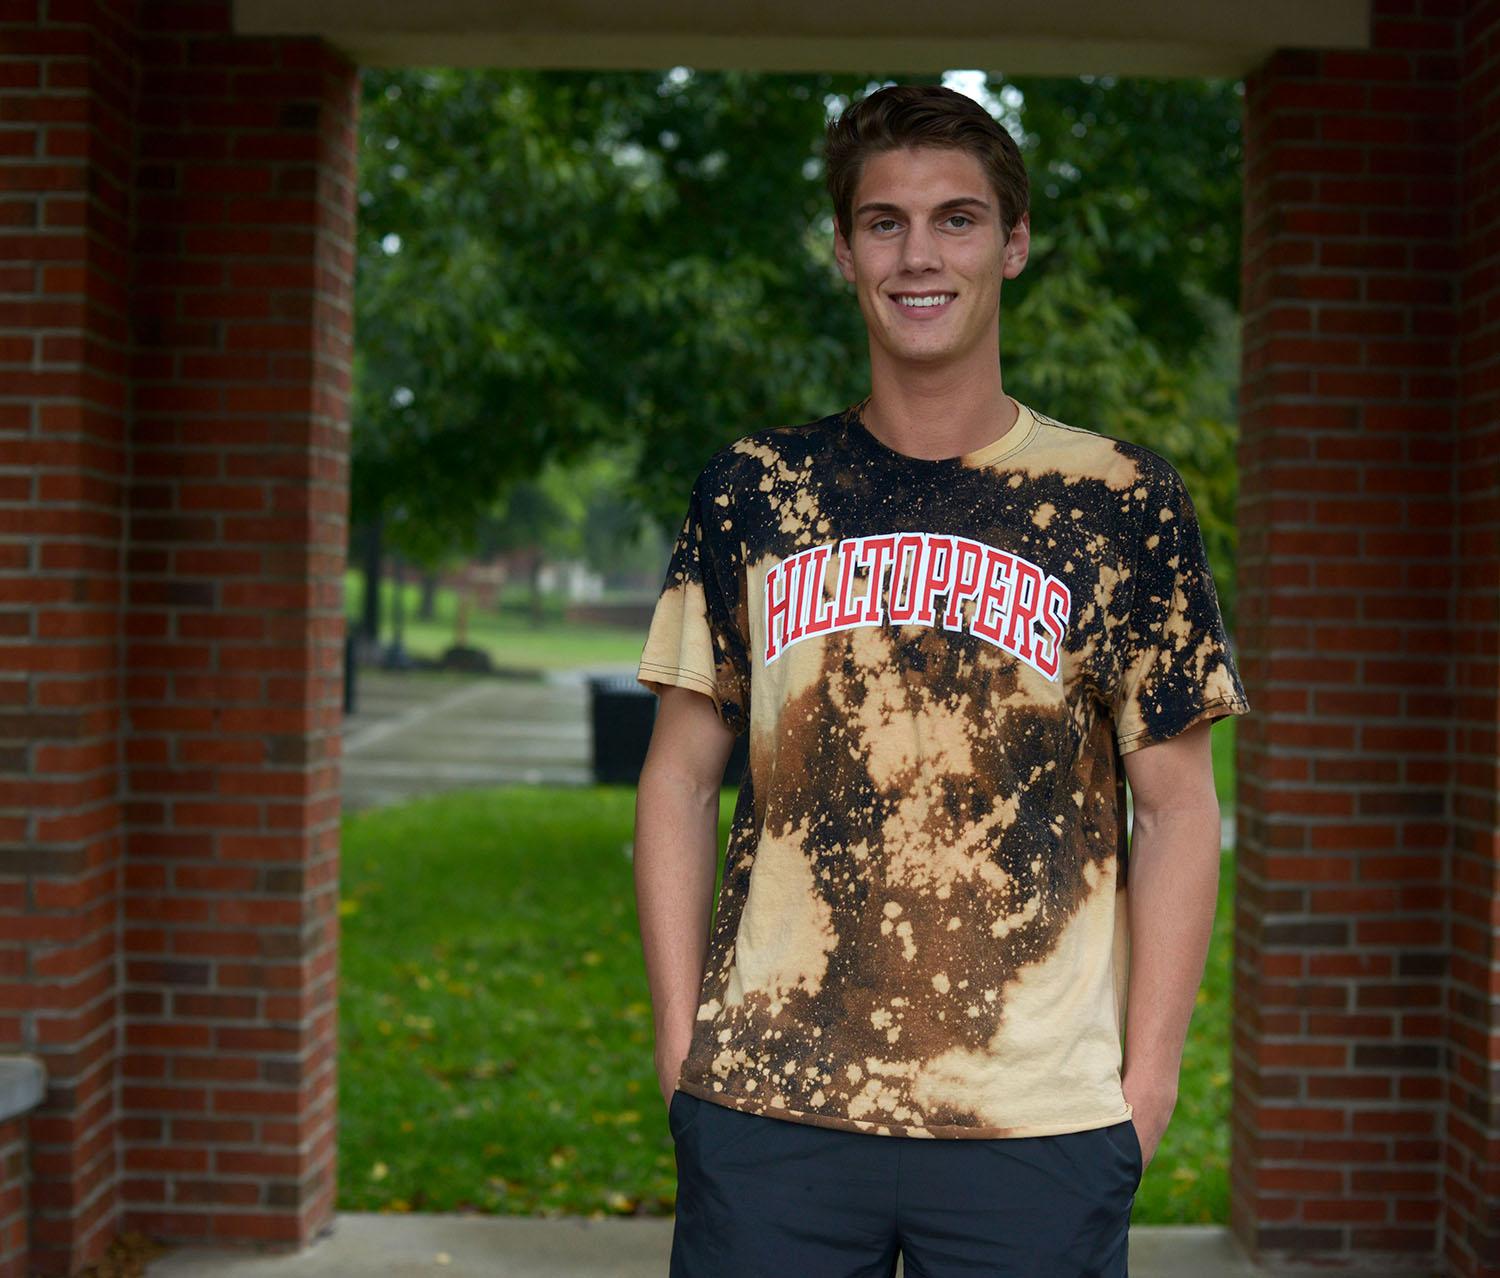
You’re all set! Congrats and have fun looking like the coolest fan in the stands.