Much like “student loans” or “Parking and Transportation Services,” the word “pomping” strikes fear into the hearts of many students, especially those involved in Greek life. What could be more fun than awkwardly getting to know the members of a sorority or fraternity as you fold tissue paper into teeny-tiny balls? A lot of things, actually.
There are lots of ways to make pomps, but here a couple of the most common techniques that you’ll almost definitely be applying this week. Get ready for that carpal tunnel syndrome to act up, and let’s learn how to make the perfect pomps.
The Traditional Pomp
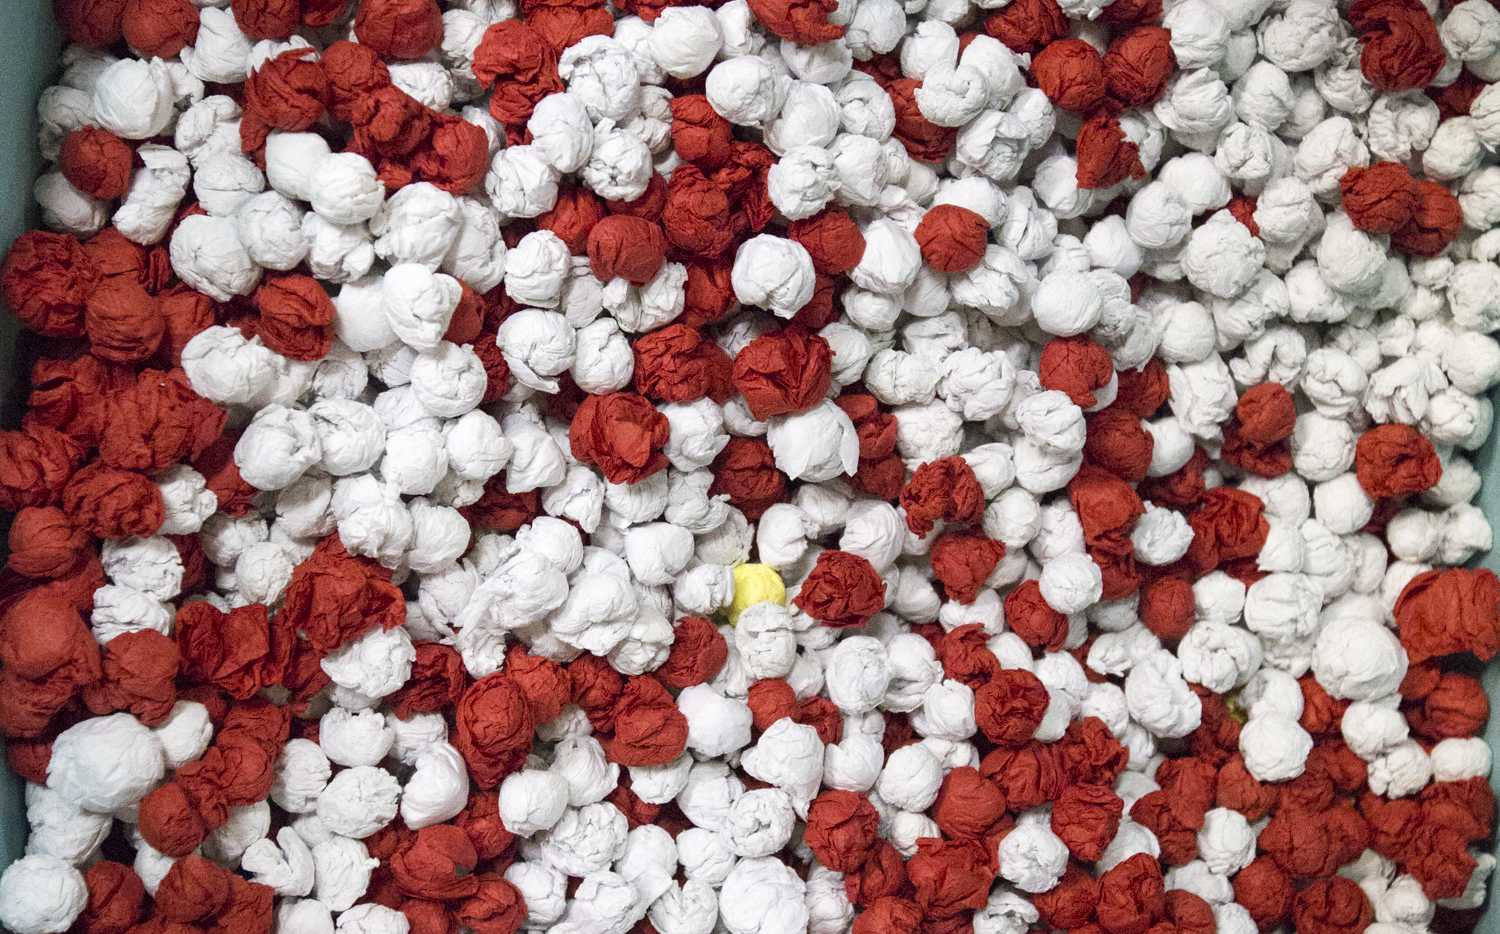
These bad boys are the most common ones to make. They’re used for the fine detailing, like spelling words and creating intricate images. If you’re not very good at making these right now, don’t worry. By the end of the week, you’ll be a pro.
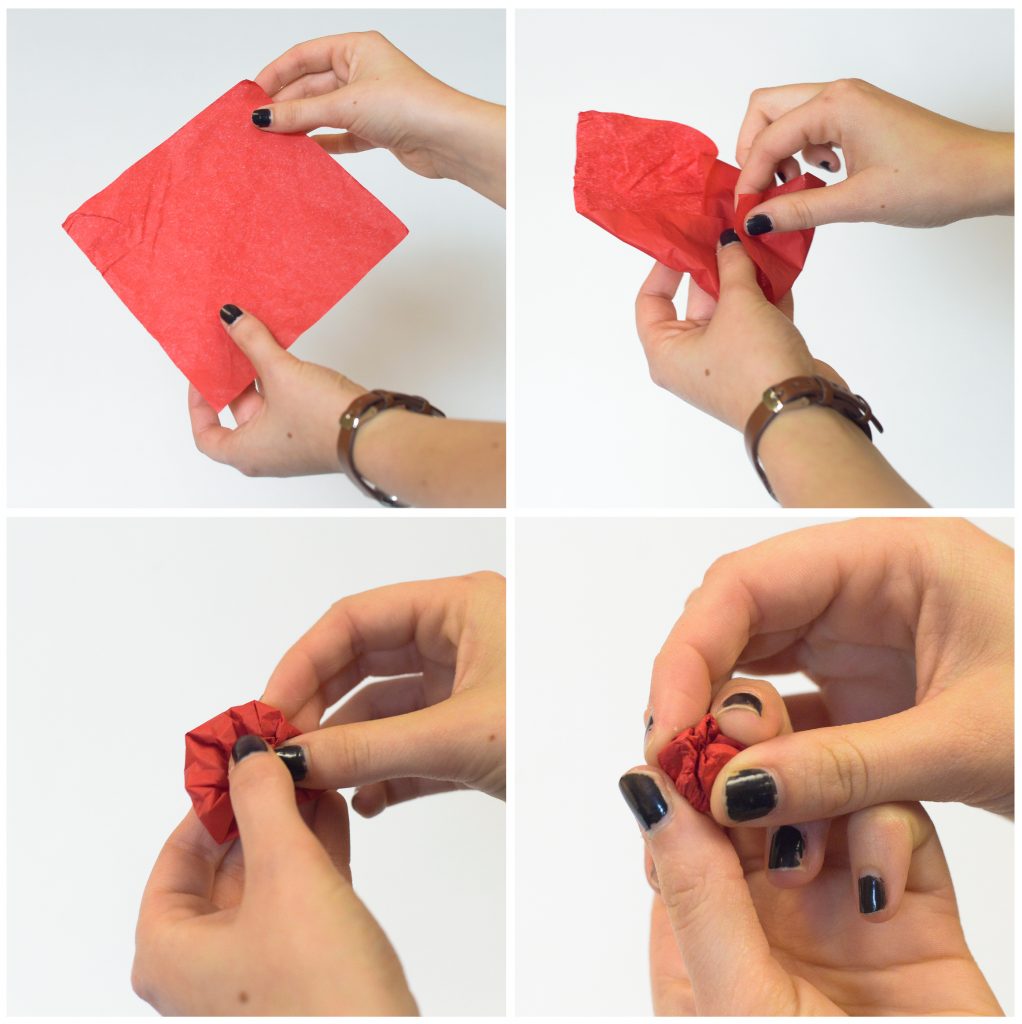
Step One: Take a square of tissue paper. It doesn’t matter what color or where it’s from. For example, mine are red and came from my sorority’s float site, but they don’t know that I took some, so let’s keep that on the DL.
Step Two: Begin folding in the corners of the tissue paper so that they meet in the middle.
Step Three: Repeat until you can’t fold the paper in any tighter.
Step Four: Squeeze the pomp until you’ve got one side that’s clean and round, which is the side that will be presented to the world. The other side where you’ve done all your folding is what will be glued to the float.
Beautiful. Absolutely beautiful. Let’s learn how to make another one.
The Flower Pomp
Flower pomps, also known as “praise the Lord sweet relief from those tiny frickin’ balls of paper,” are used for texture and are most commonly seen inserted into chicken wire to create sculptures. It is a universally accepted truth that these are five hundred times easier and more fun to make than traditional pomps.
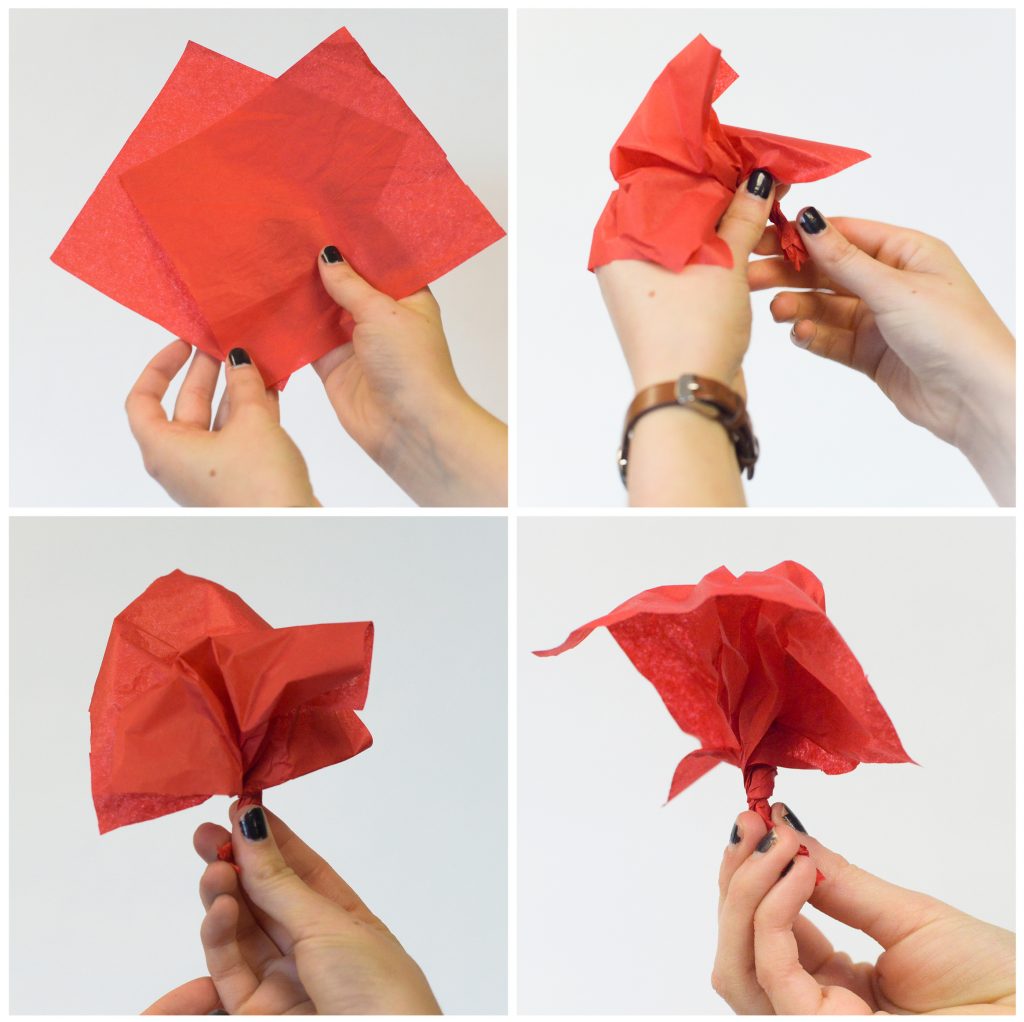
Step One: Take two pieces of tissue paper and hold them together at an angle. Flower pomps can be made with one piece of tissue paper, but in order to add ~extra volume~ to our pomps, we’re using two.
Step Two: Twist the paper together until you’ve got a stem that’s a little over an inch long.
Step Three: Fluff out the flower.
Beautiful and simple. Now go make 20,000 more of each.
Happy Homecoming!


