The best way to have clothes that are unique to you and help you stand out is to thrift and then upcycle pieces. There are thrift and secondhand stores all around Bowling Green that make it easy to find inexpensive clothes you can transform into your own.
Recently, I was on the hunt for some classic pieces of denim. I purchased a pair of mom jeans, a button-up blouse with bright colored stripes on it and a denim jacket to experiment with. After a quick trip to the St. Vincent de Paul thrift store, I left with everything I wanted for a whopping $12.
Jeans
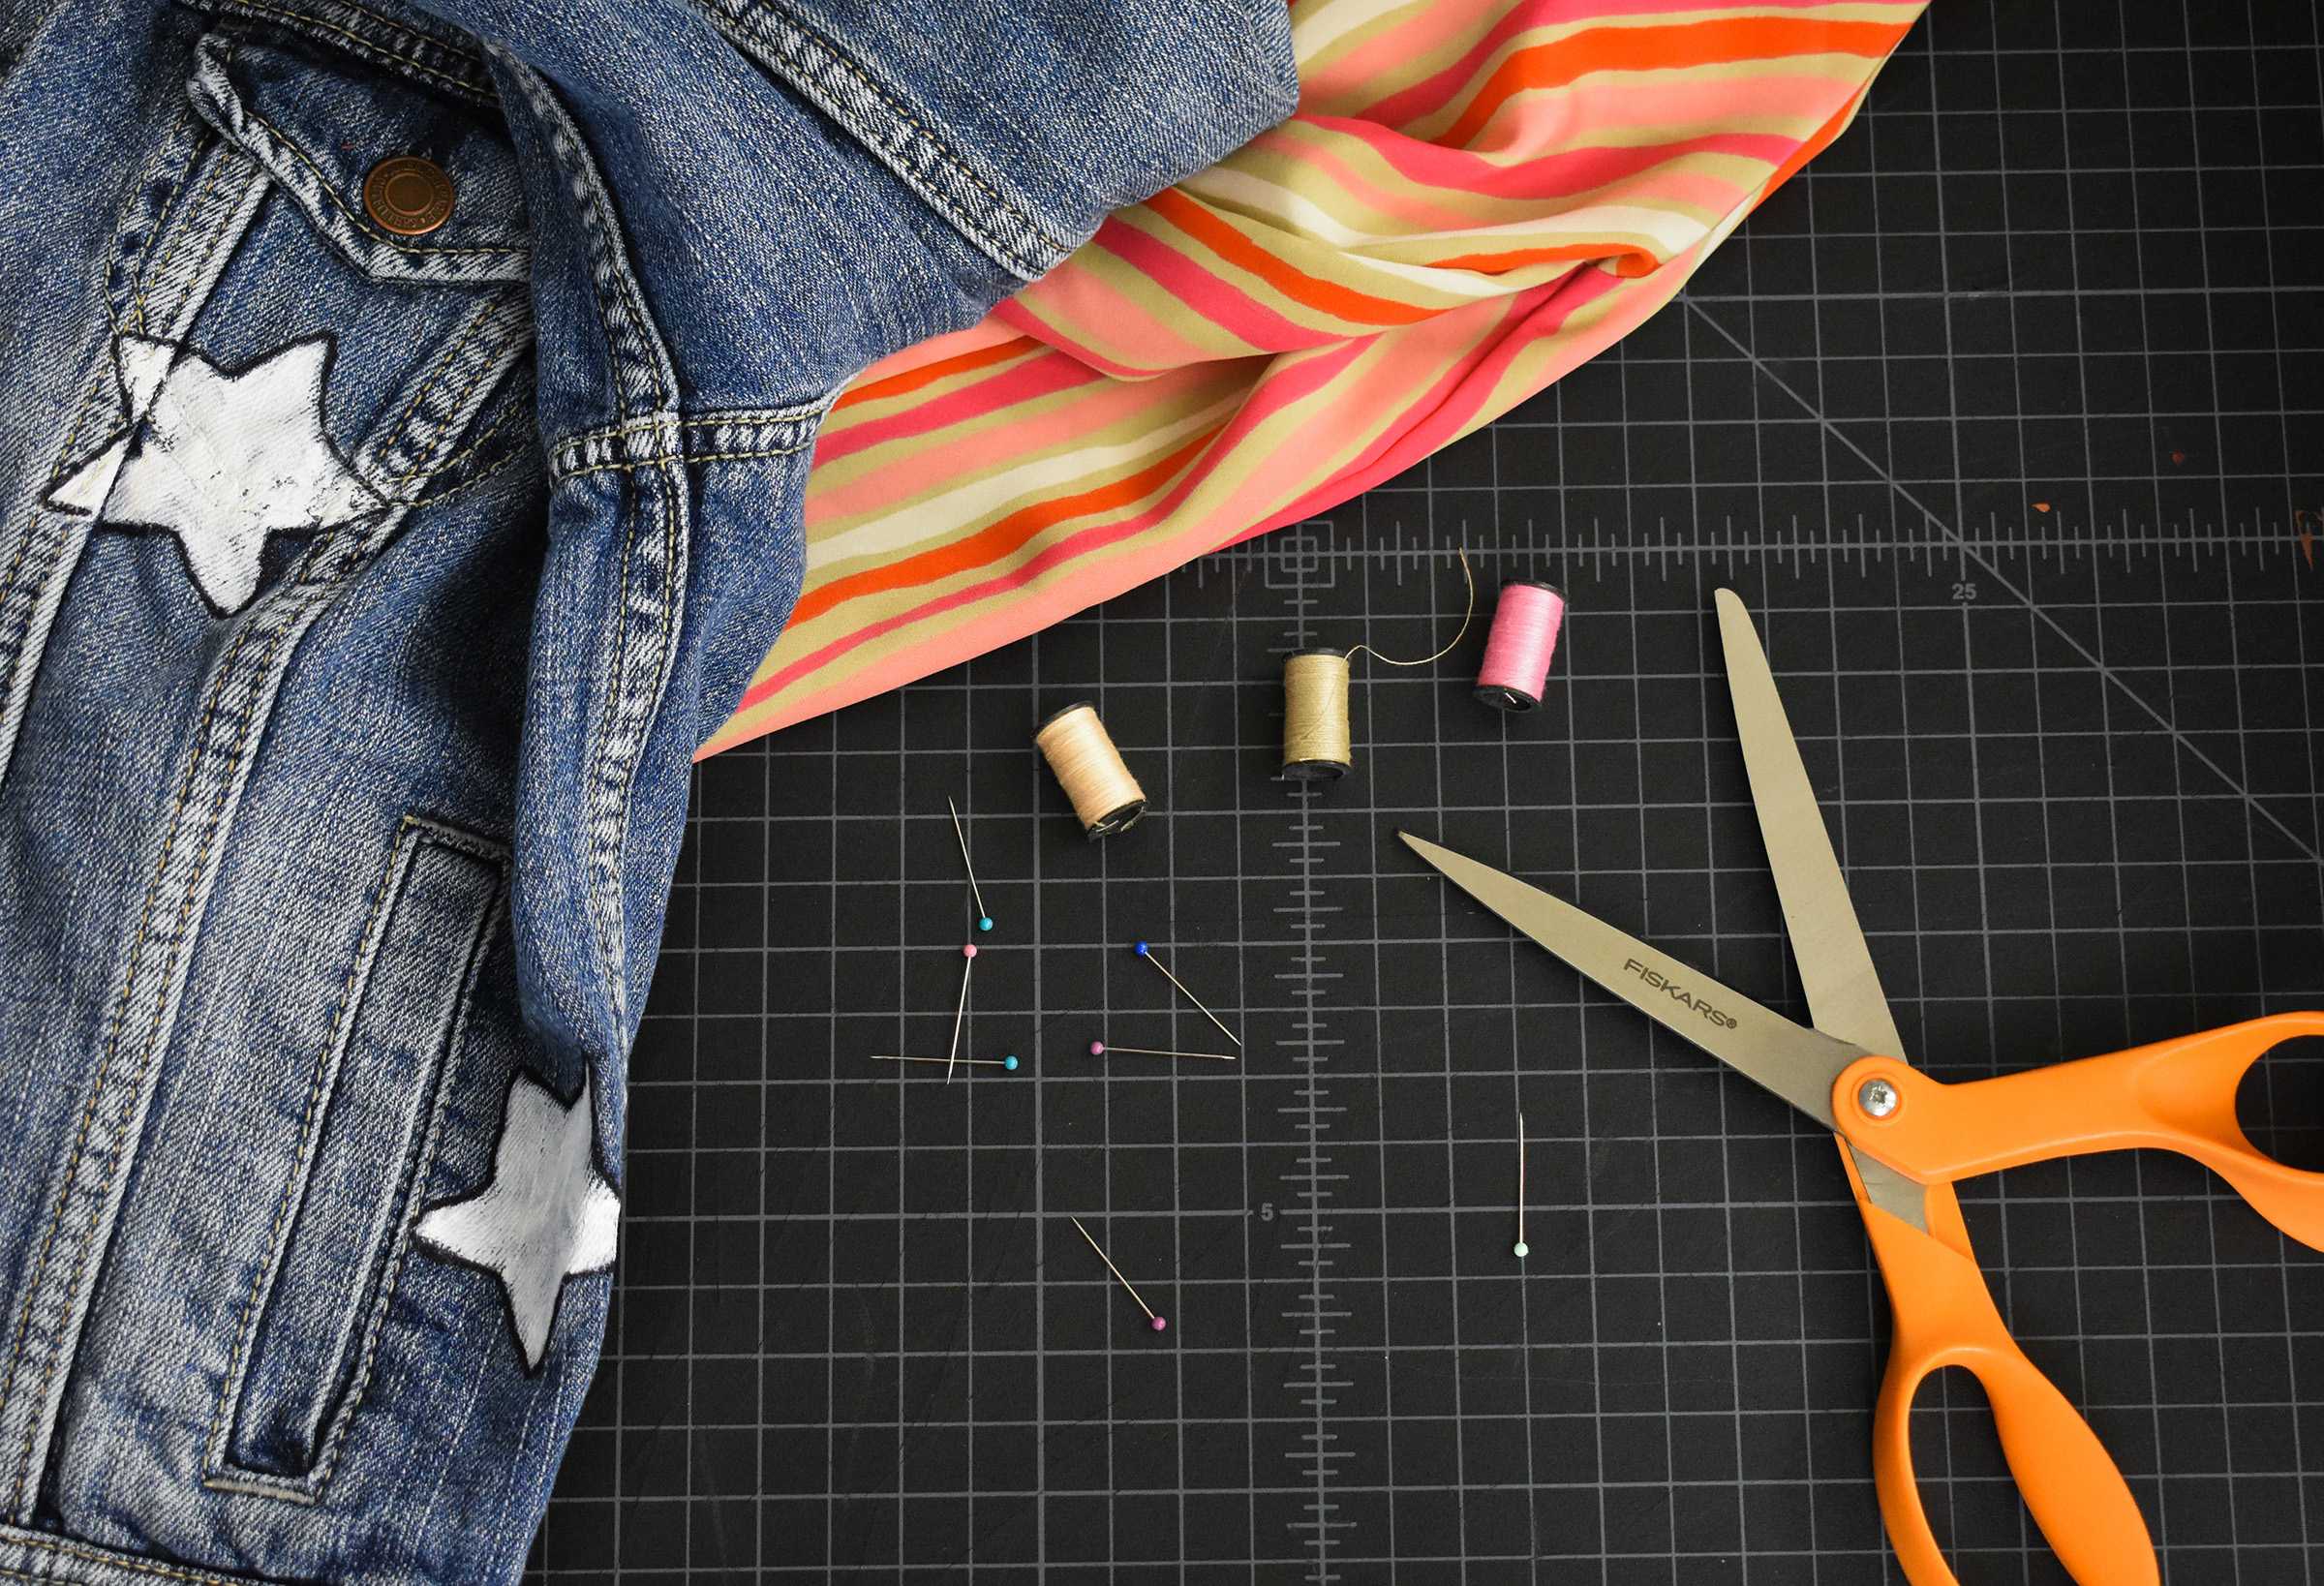
What you’ll need:
- Jeans
- Fabric
- Needle
- Thread
- Dressmaker’s shears
- Pins
- White colored pencil
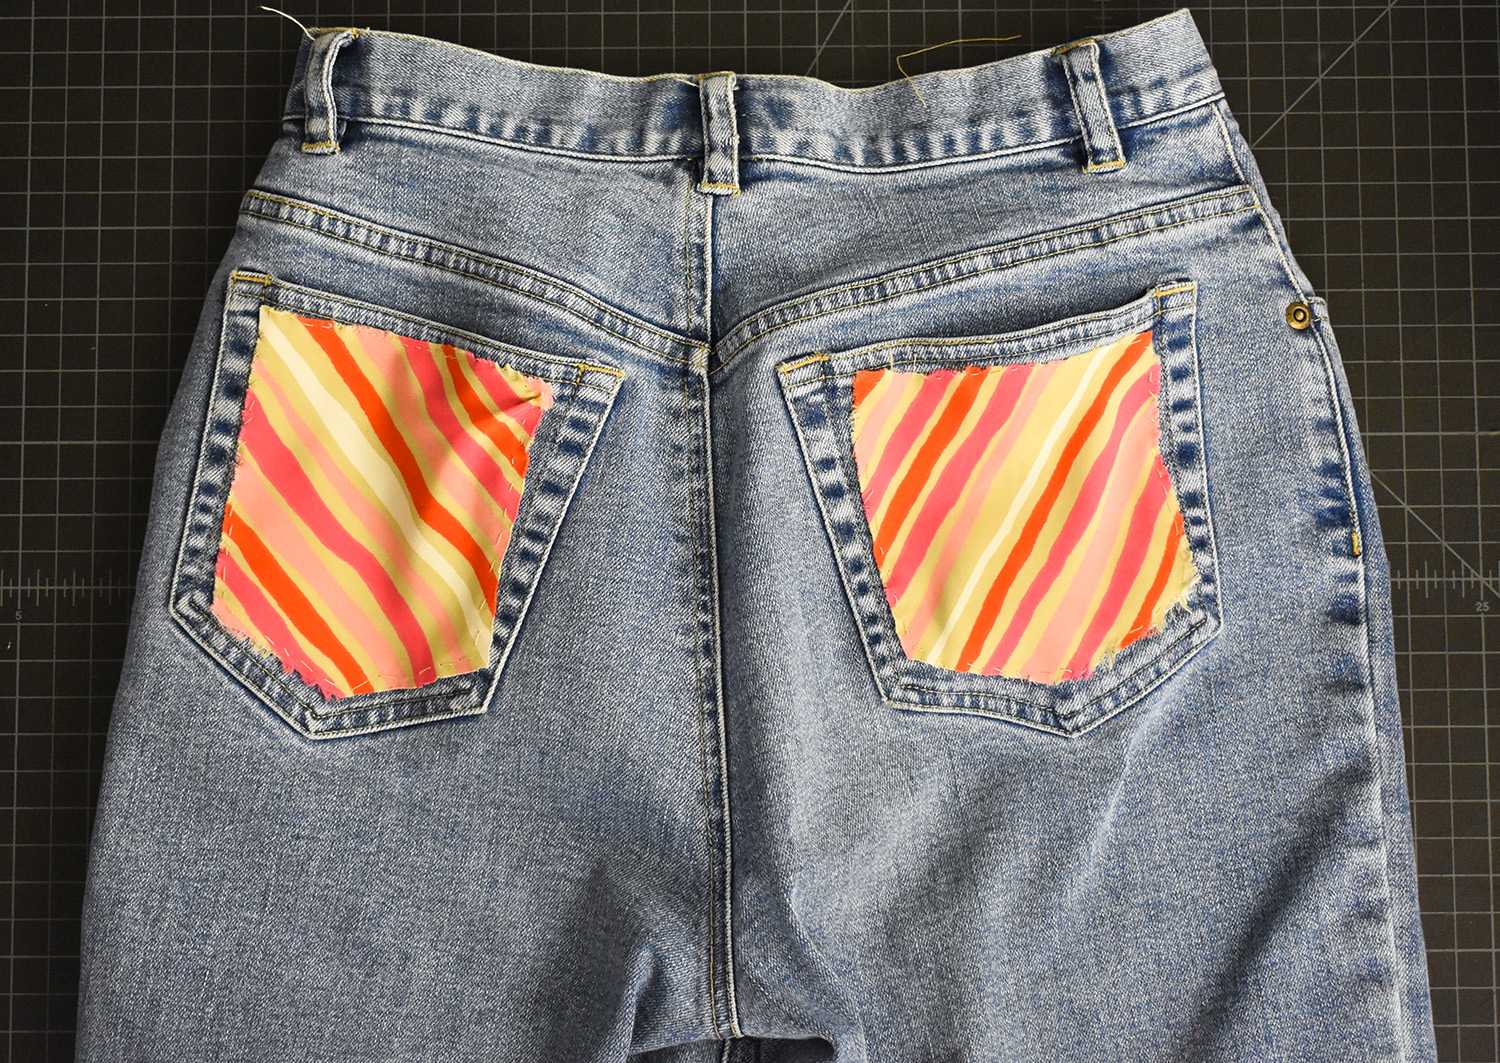
For the jeans, I had the idea to cut fabric from the blouse and cover the back pockets of the jeans with it.
Step one: Lay the blouse over the back pockets of the jeans, using a white colored pencil to outline the shape of the pockets.
Step two: Cut out the fabric from the shirt with dressmaker’s shears following the lines you drew.
Step three: Pin the fabric onto the pocket to keep it in place and begin sewing. Keep in mind your stitches don’t have to be perfect — mine are definitely far from it. Once you get both pieces sewn onto the pockets you’re done.
Step four: Rock the cool new jeans you made!
Denim jacket
What you’ll need:
- Jacket
- Acrylic paint
- A paintbrush
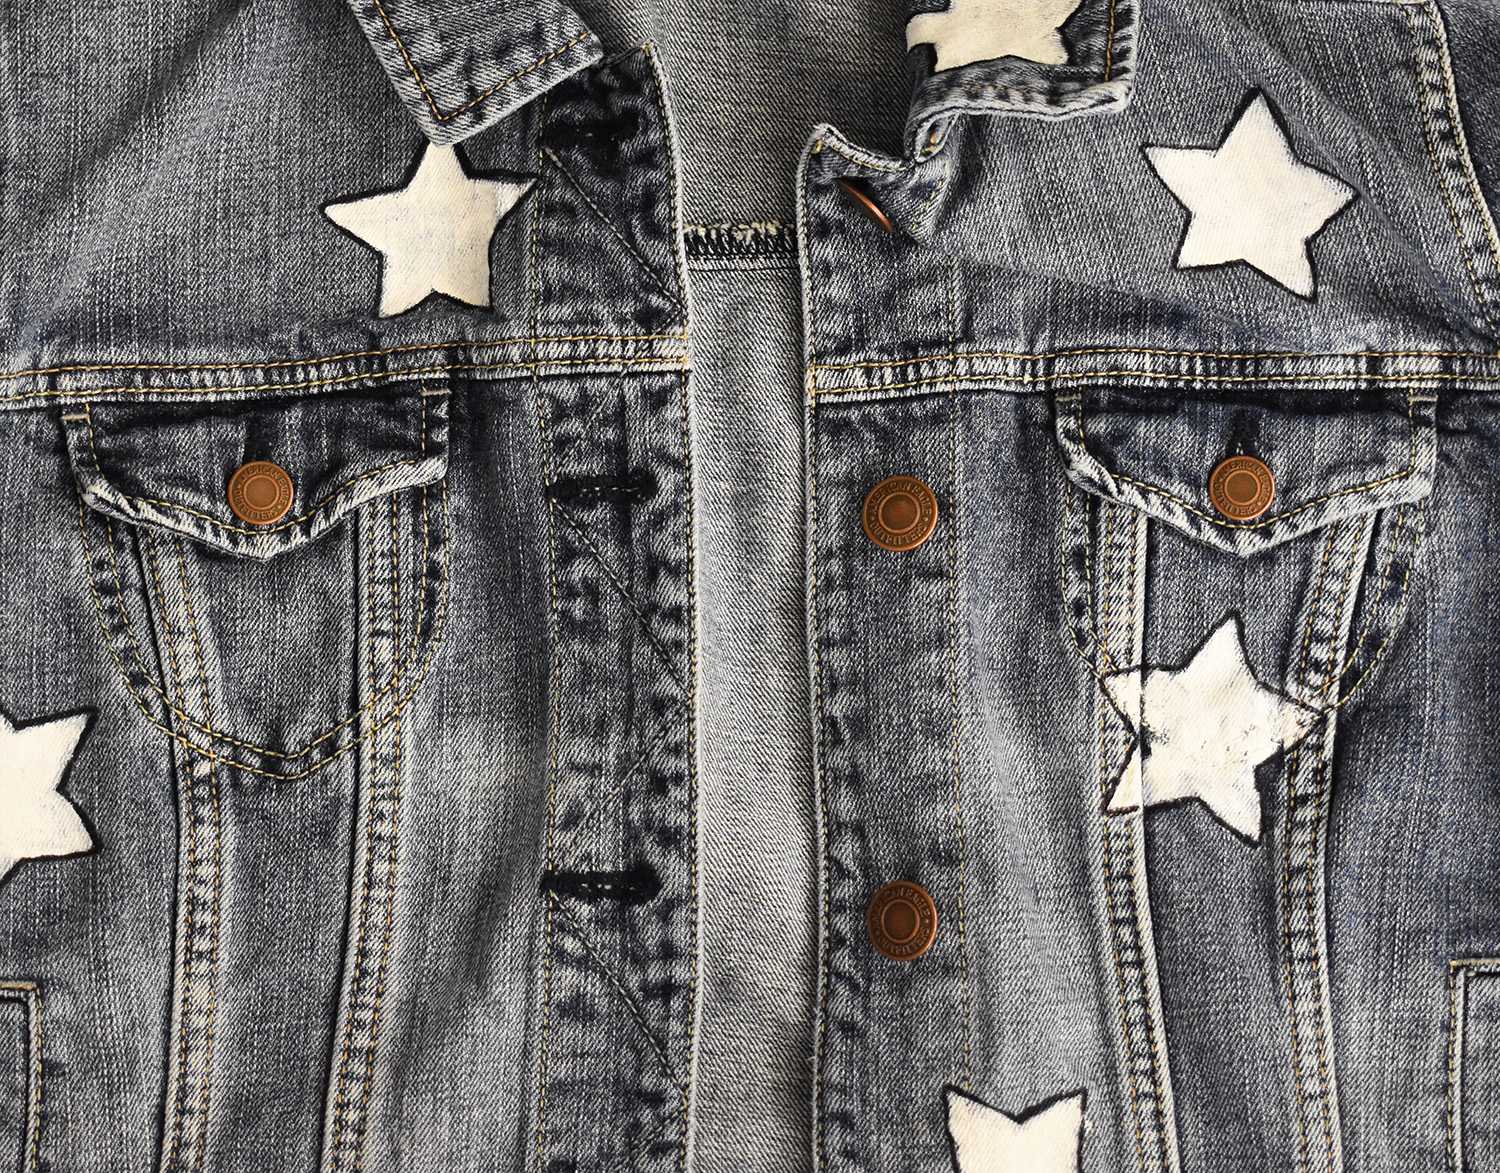
Step one: Decide what you want to paint on the jacket, I decided on stars.
Step two: Draw the design on the jacket, or you can buy a stencil with a design you like.
Step three: Mix your acrylic paint and the GAC 900 together. This makes the paint thinner so it isn’t stiff and crack off.
Step four: This step is easy, simply paint. You can paint as many layers as you’d like until you reach your desired color. However, it is important though that in between layers to heat-set the paint since the GAC 900 is a heat-set fabric painting medium. I just used a hair dryer for this.
Step five: I decided to outline the stars in black to clean up the edges.
Step six: Throw it in the dryer inside out to heat-set it one last time.
Step seven: After it’s done drying it’s ready to be shown off to the world.
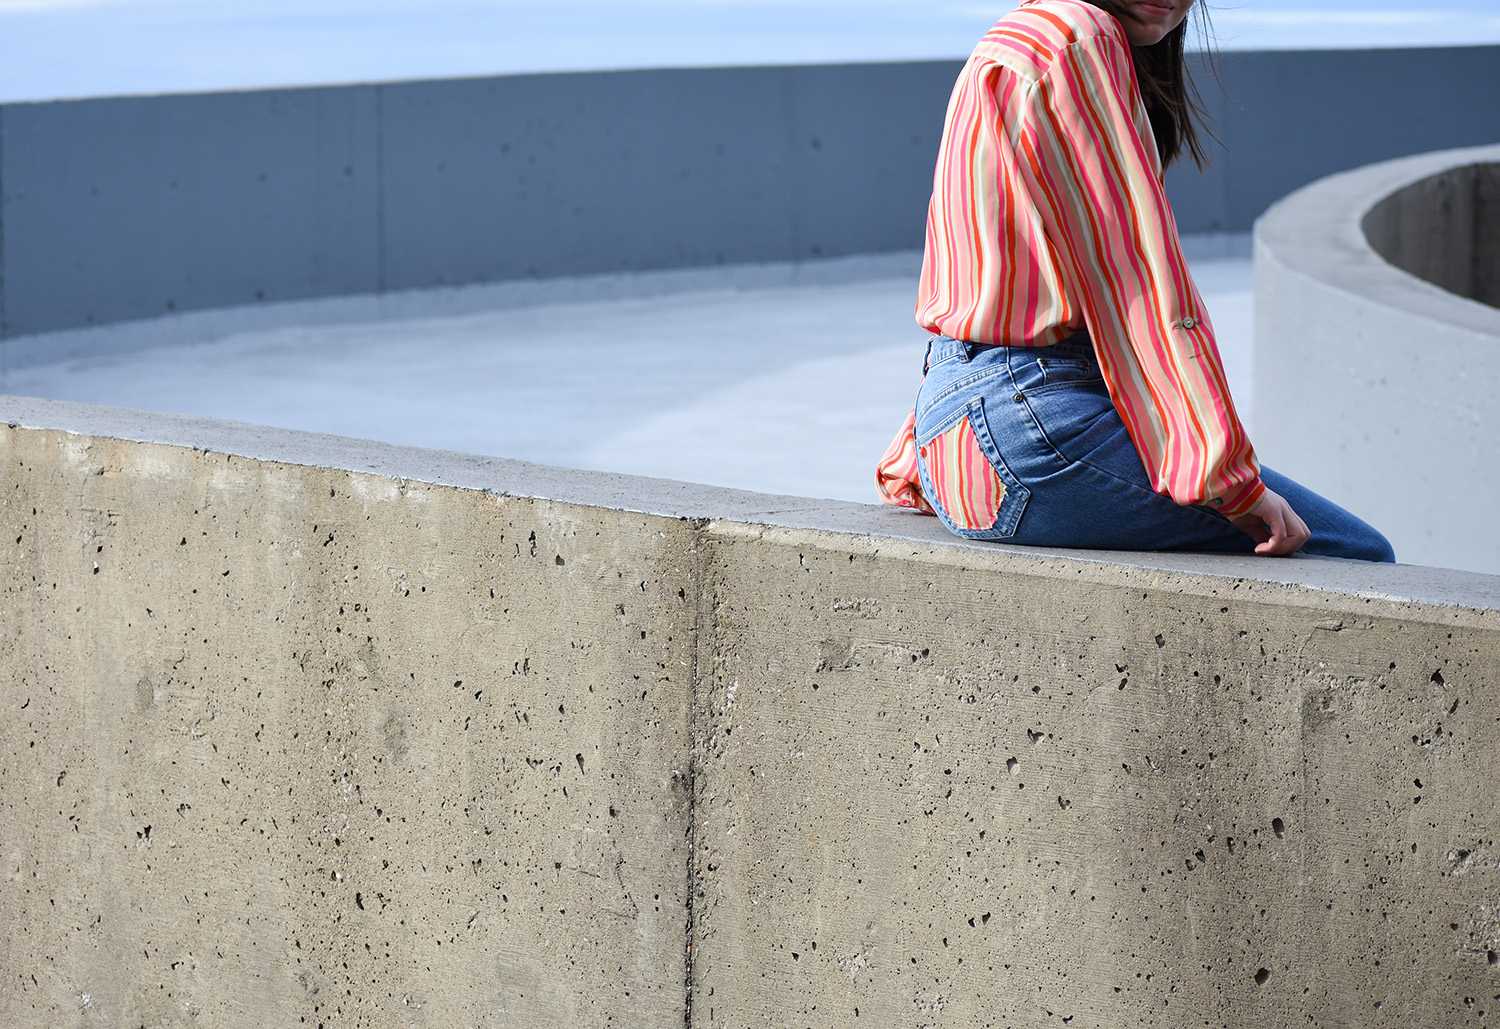
Now you’re all set to show the world your new custom creations. Doesn’t it feel better to rock something you designed yourself?